Reference
Dev Portal Keycloak Setup
Keycloak Setup#
This guide will walk you through setting up Keycloak as the authentication provider for your Zuplo hosted developer portal.
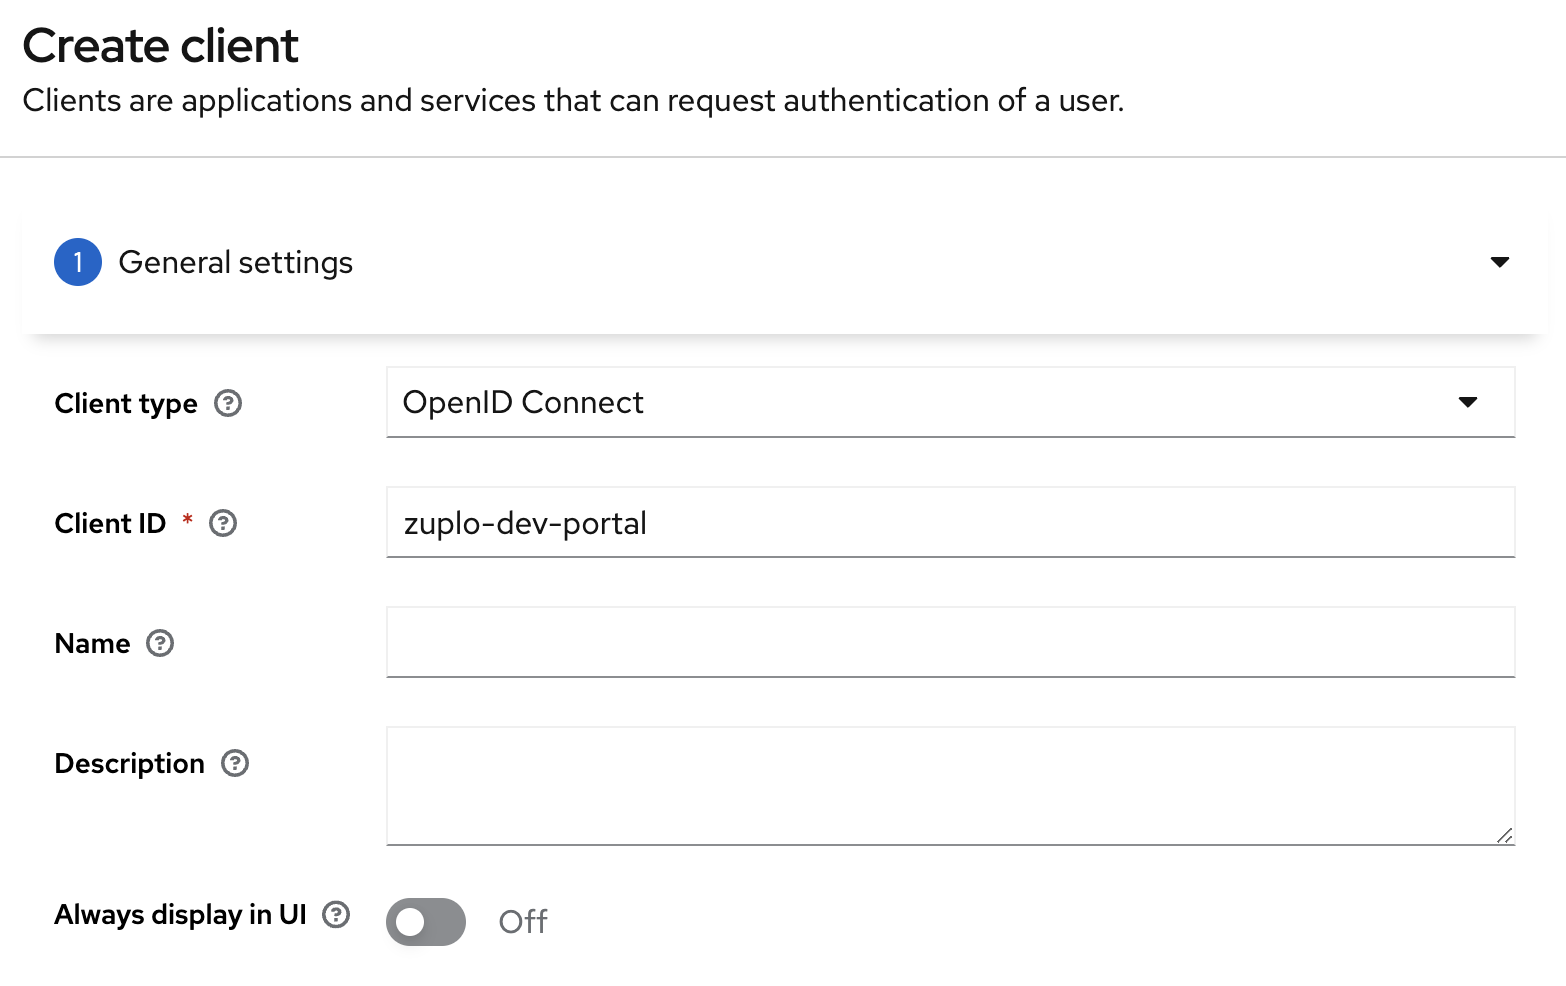
1/ Create OAuth Application#
Navigate to your admin console and create a new client. The Client ID can be
anything you want, but for this example, we will use zuplo-dev-portal.
Optionally, fill in the name and description. Once you have entered the data,
click "Next".
2/ Set the Client Capabilities#
In the Authentication flow section, enable the "Standard flow" and disable "Direct access grants". Leave "Client authentication" and "Authorization" set to "off". Click "Next".

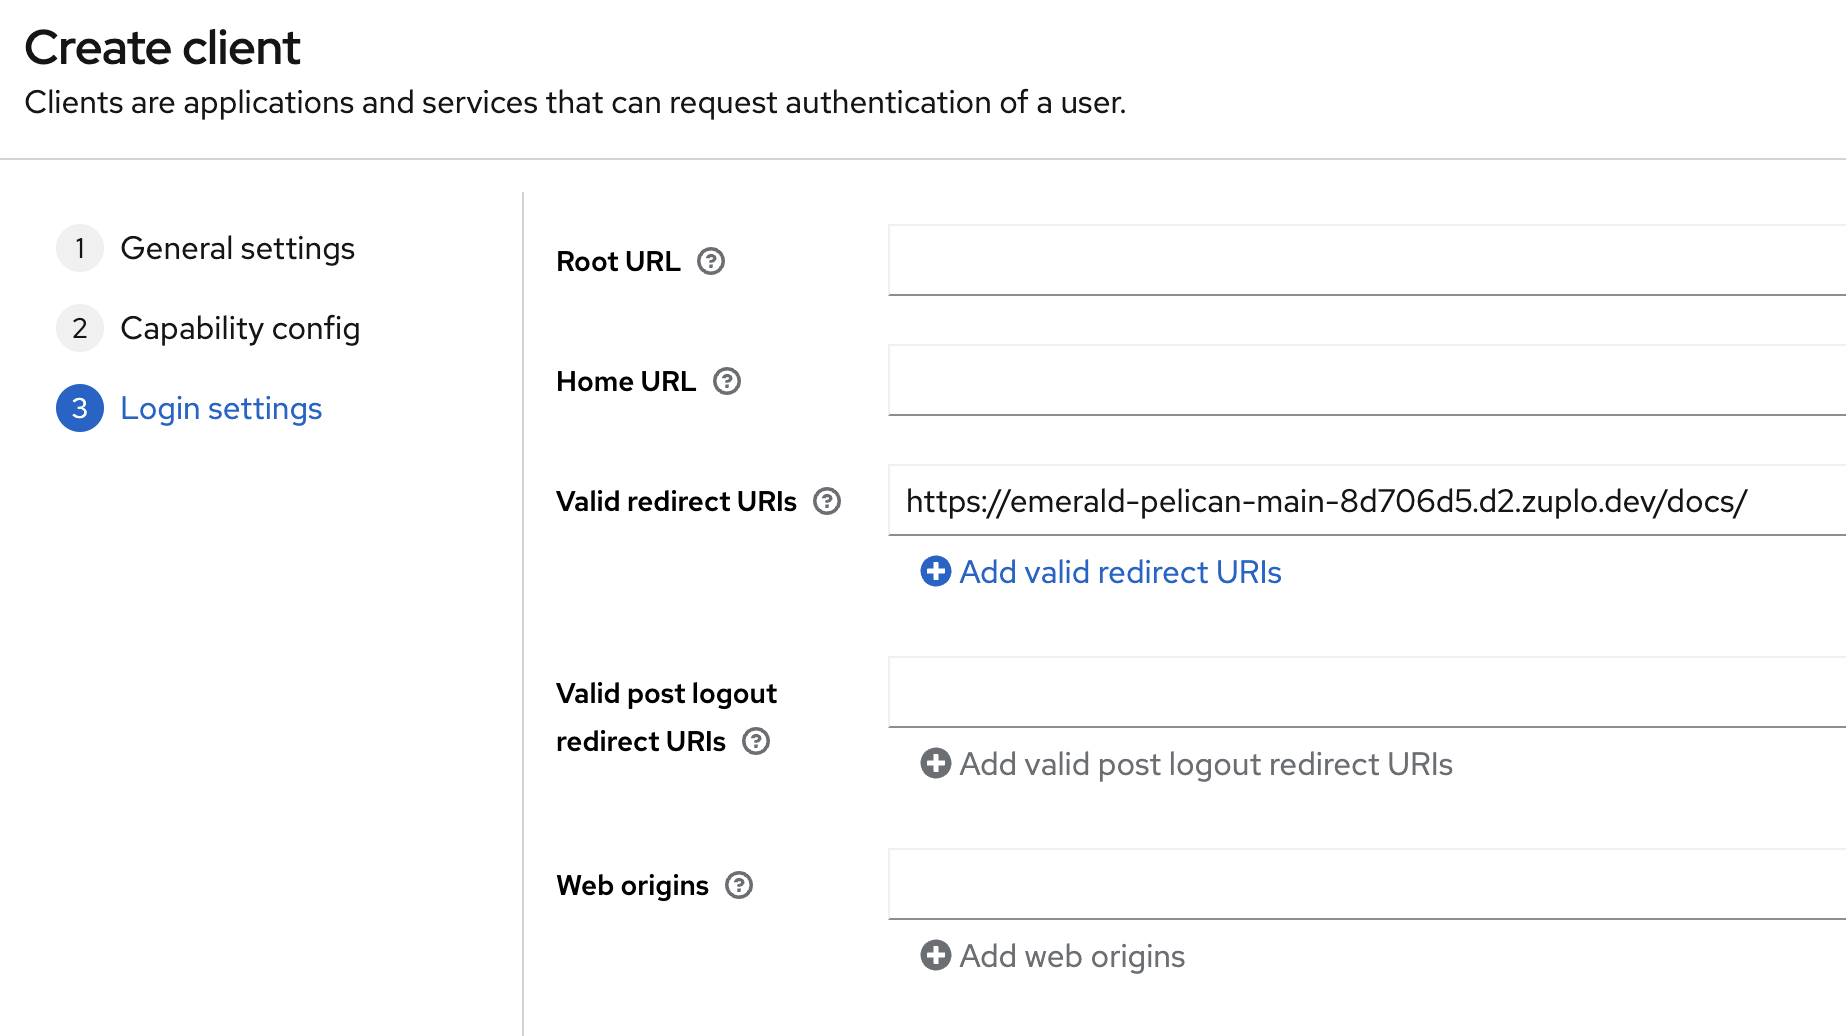
3/ Set the Login Settings#
In the "Valid Redirect URIs" field, enter the URL of your Zuplo Dev Portal with
the base path (this defaults to /docs/). Make sure you have the trailing slash
set. Click "Save".
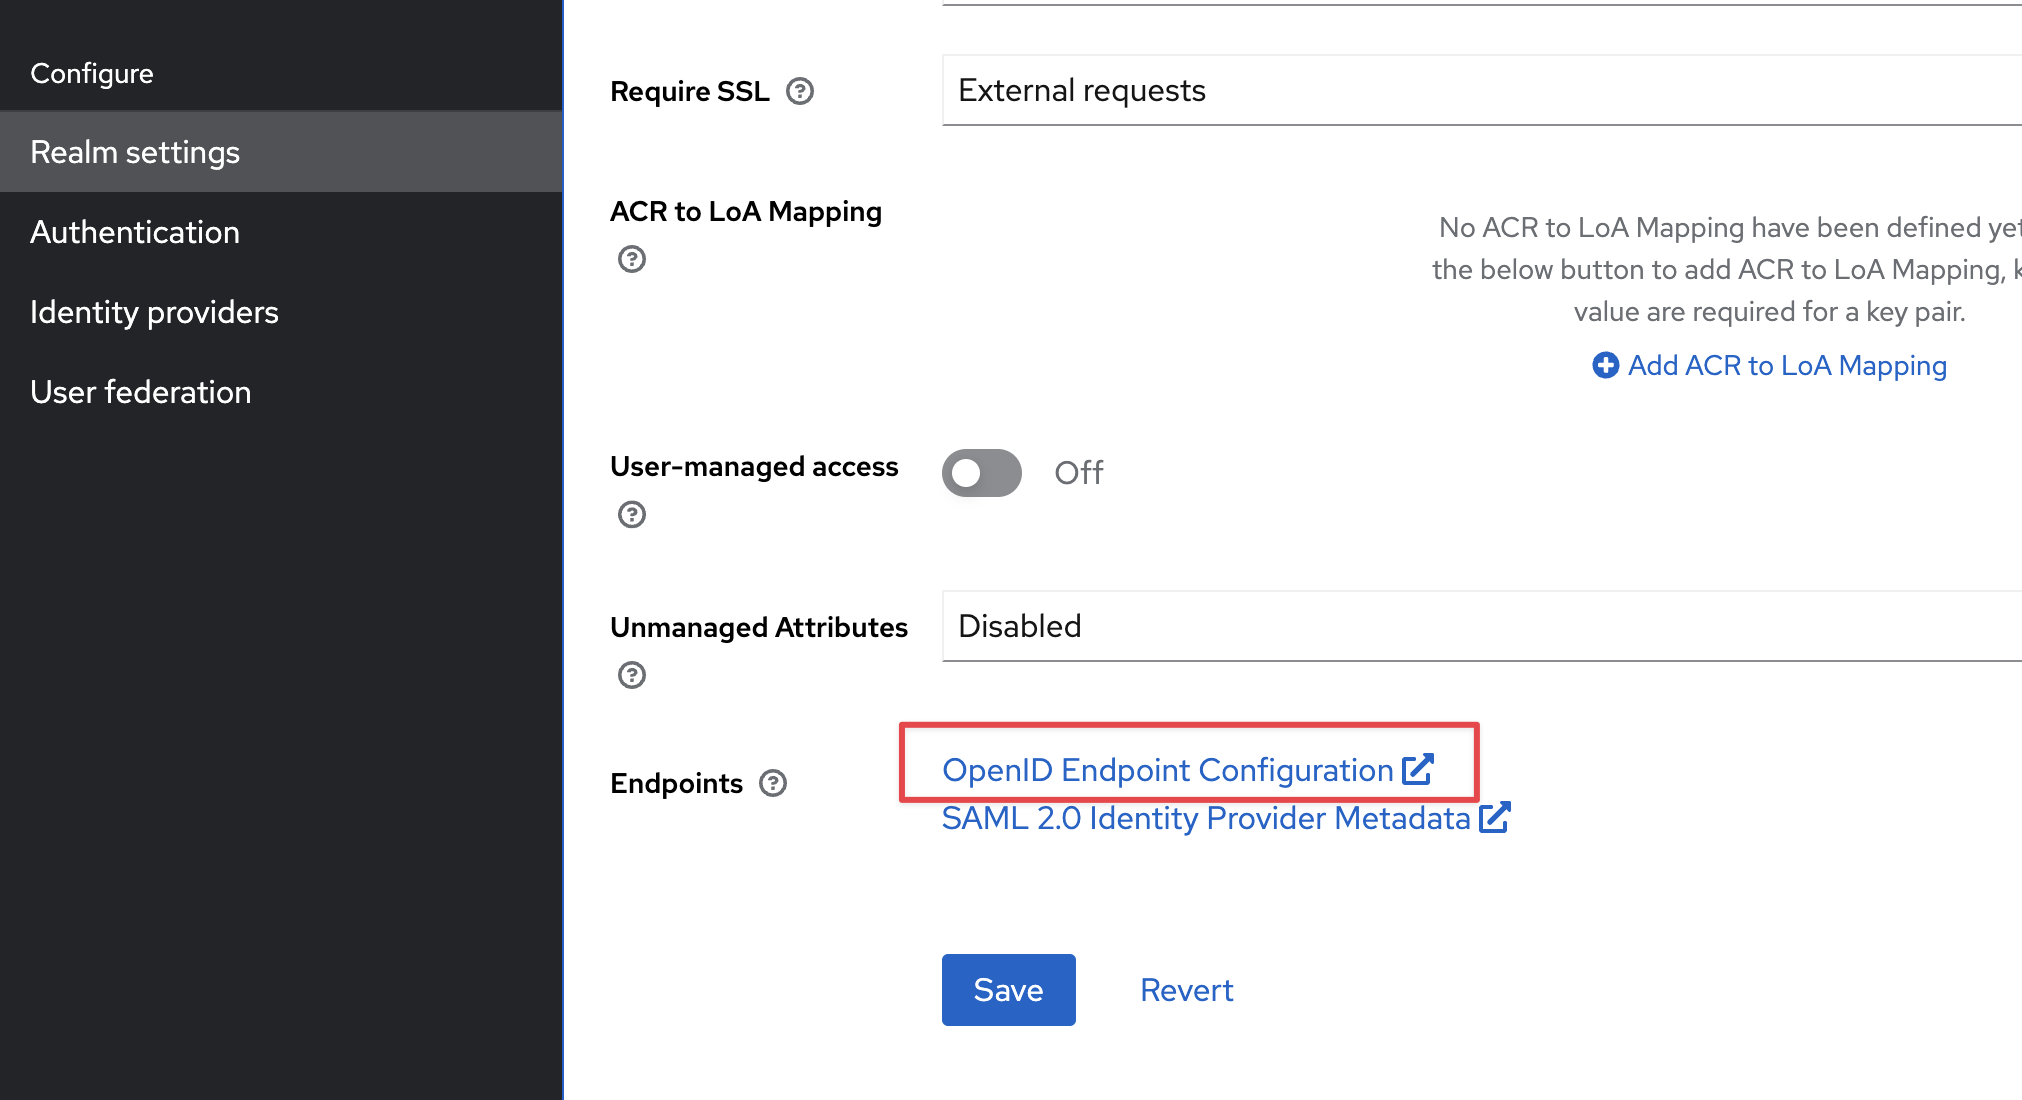
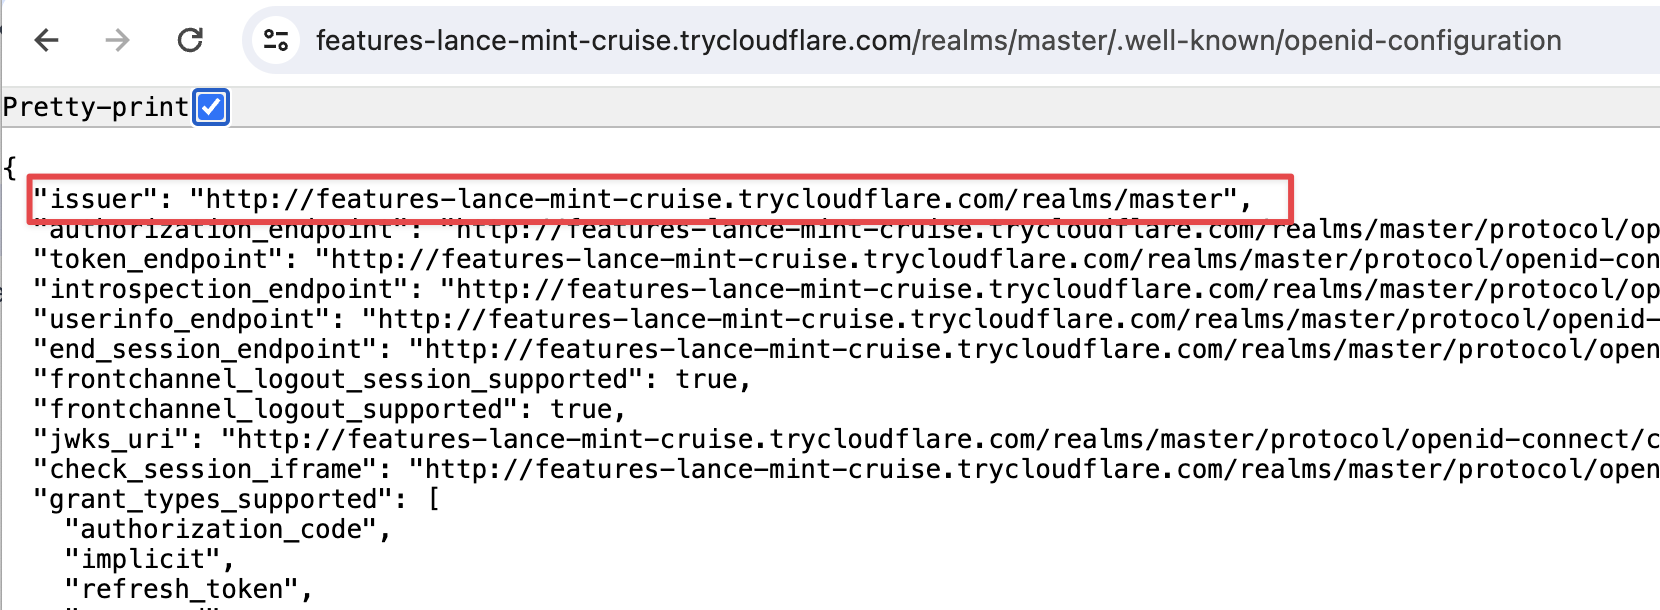
4/ Find the Issuer URL#
Open the "Realm settings" tab in your Keycloak admin console. And click the link
to "OpenID Endpoint Configuration". This will open a JSON document. Find the
issuer key and copy the value. You will use this value to configure the Zuplo
Dev Portal.
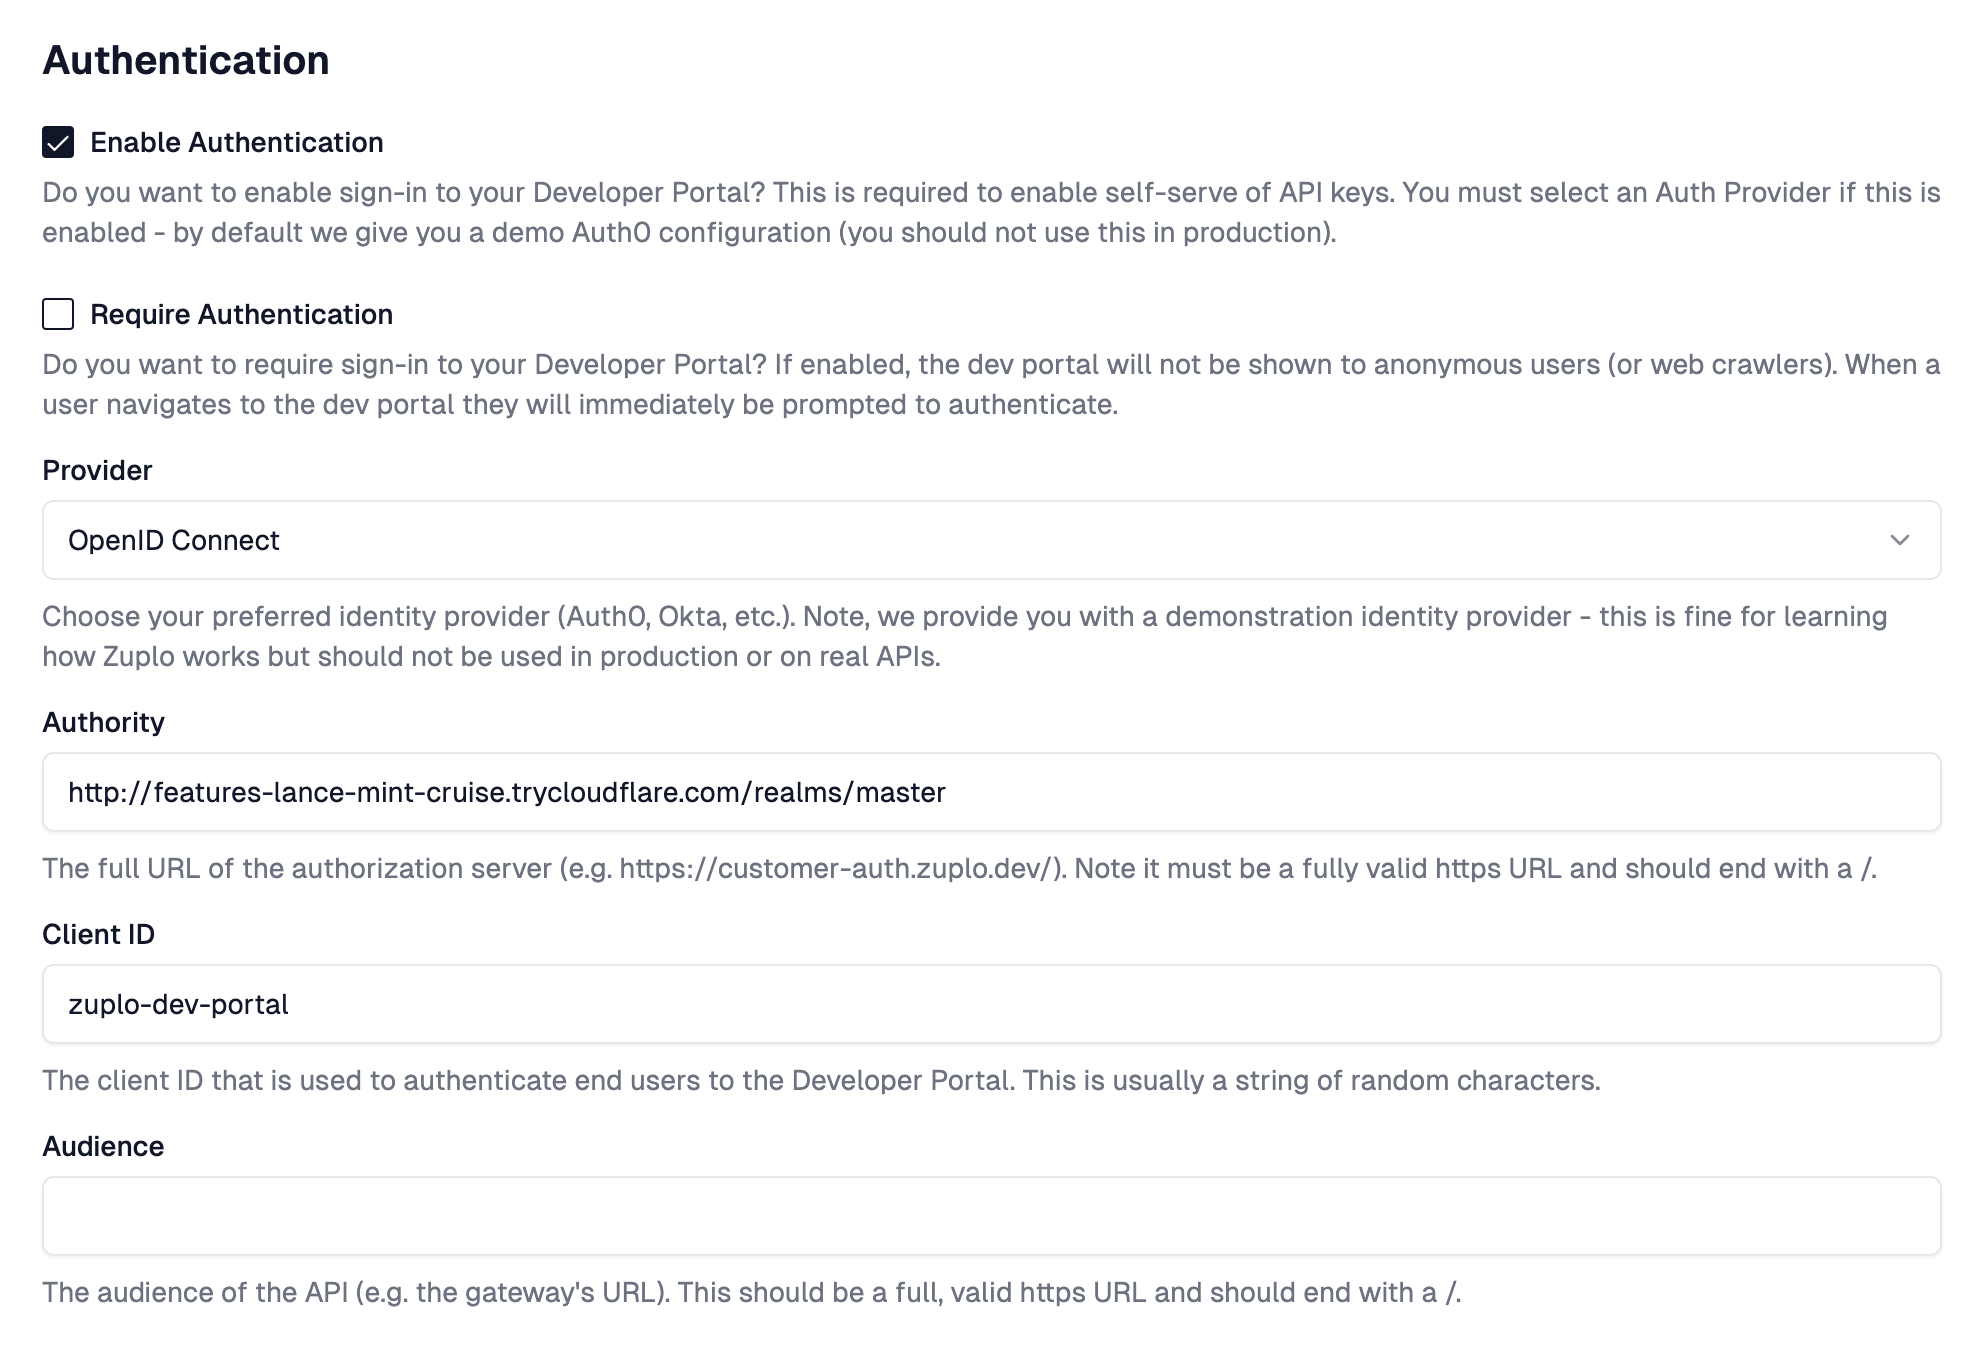
3/ Configure the Developer Portal#
Inside of the Zuplo Developer portal navigate to the
Code Editor tab and open the dev-portal.json file. Under the
"Authentication" section, set the "Provider" to "OpenID Connect". Set the
"Authority" value to the issuer value you copied from the JSON file in the
previous step. Set the "Client ID" value to the value you set in step 1 (in our
example this is zuplo-dev-portal). Click "Save".